
In part one, I walked you through cloning, customizing, building, and manually deploying your blog. In this follow-up, we automate deployment with Git and Netlify, connect your custom domain, and enable HTTPS via Let's Encrypt. This is the part that makes the blog "feel real."
Recap from Part One
We built a static blog using Next.js and TailwindCSS, tested it locally, generated a build with npm run build, and deployed manually by uploading the out/ folder to Netlify.
What We'll Cover in This Part
- Automating deployment via Git and Netlify
- Connecting a custom domain name
- Securing your blog with HTTPS (Let's Encrypt)
Automating Deployment with Netlify + Git
Manual deployment works—but if you want a smoother developer experience, automation is key.
Step 1: Push Your Blog to GitHub
If you haven't done this already:
cd my-blog
git init
git remote add origin https://github.com/yourusername/my-blog.git
git add .
git commit -m "initial commit"
git push -u origin master
Step 2: Link Netlify to Your Git Repo
- Go to Netlify and sign in to your account
- Click "Add new site" → "Import an existing project"
- Choose GitHub and authorize Netlify if prompted
- Select your blog repository from the list
- Configure build settings:
- Build command:
npm run build - Publish directory:
out
- Build command:
- Click "Deploy Site"
🎉 Congratulations! From now on, whenever you push to
mainormaster, Netlify will automatically rebuild and redeploy your site.
Setting Up a Custom Domain
Your Netlify site comes with a default yoursite.netlify.app domain. Let's replace that with your own custom domain.
Step 1: Purchase a Domain
Choose any domain registrar:
- Namecheap (recommended for beginners)
- GoDaddy
- Cloudflare (includes free privacy protection)
- Google Domains
For this example, let's say you purchased: mycoolblog.com
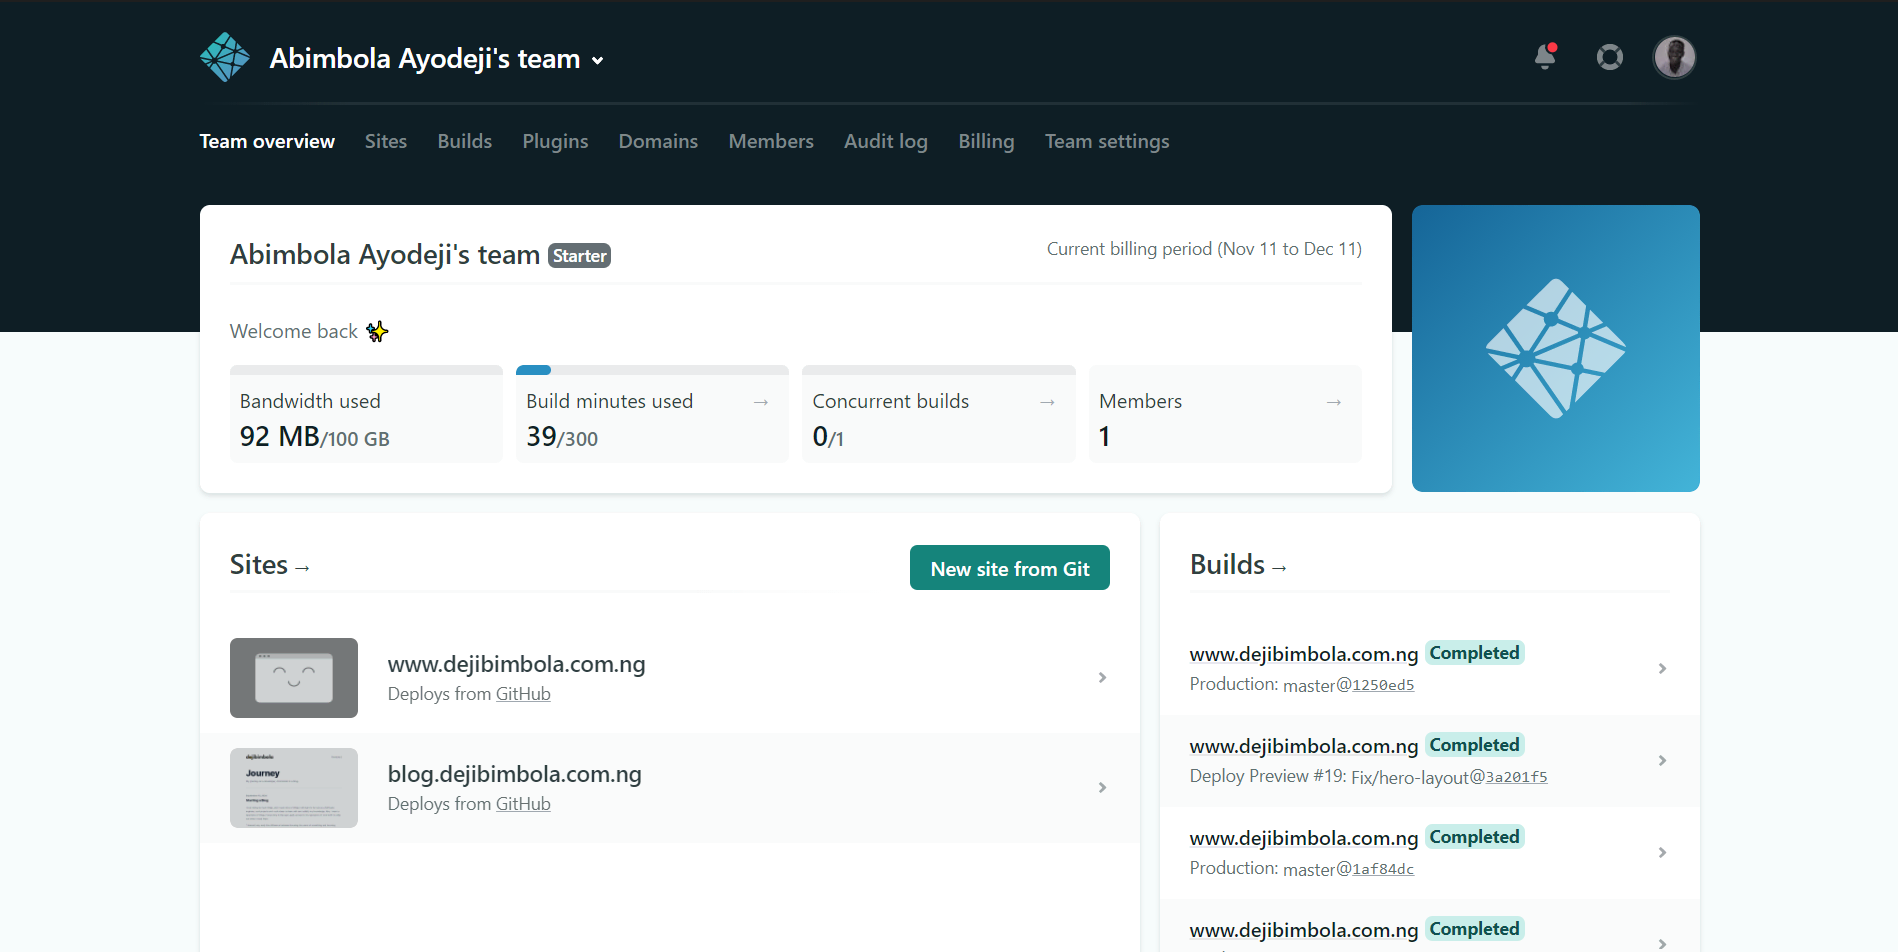
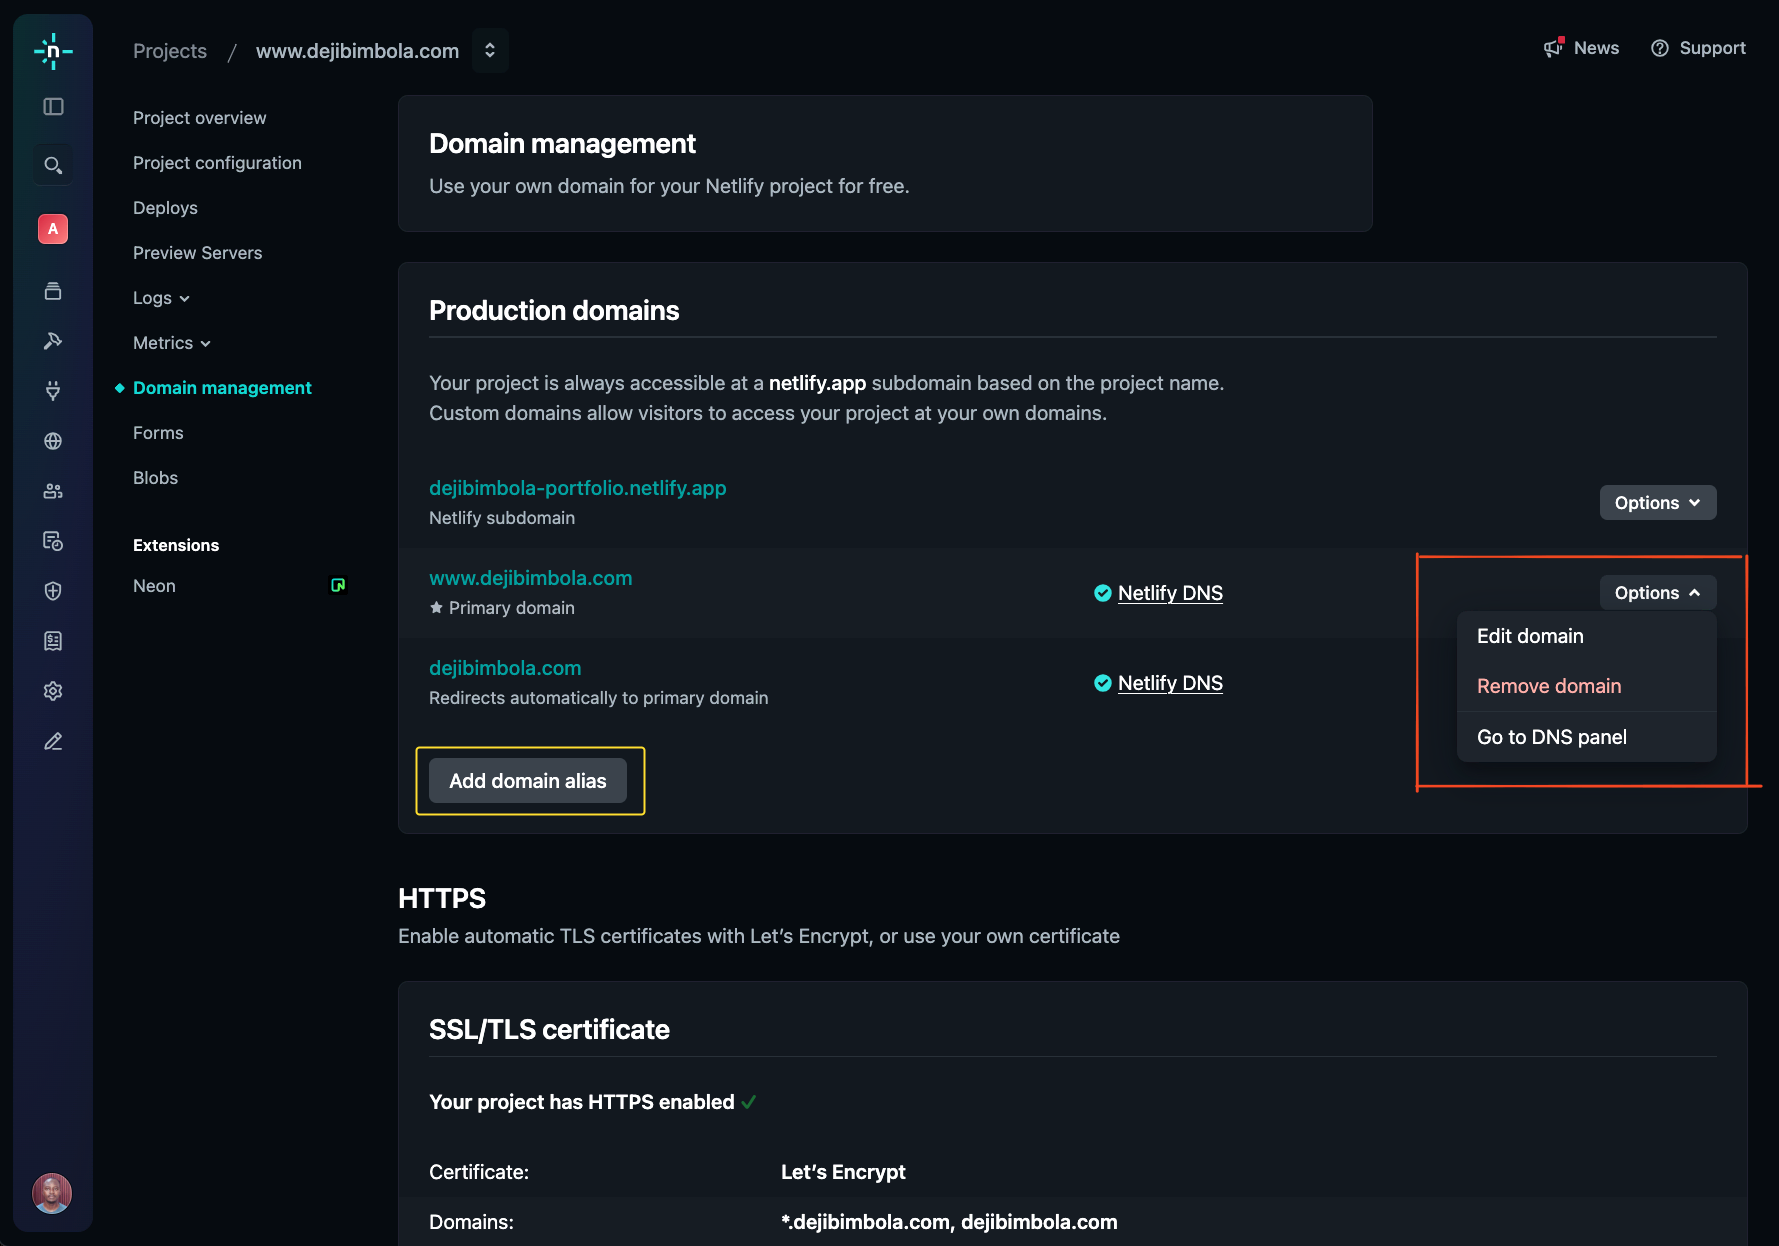
Step 2: Configure Domain in Netlify
- Go to your Netlify site dashboard
- Navigate to "Domain Settings"
- Under "Custom Domains", click "Add custom domain"
- Enter your domain (e.g.,
mycoolblog.com) and follow the verification steps

Step 3: Update Your DNS Records
At your domain registrar, you'll need to configure DNS records:
Required:
- CNAME Record:
www.mycoolblog.com→yoursite.netlify.app
Optional (for root domain):
- A Record:
mycoolblog.com→75.2.60.5(Netlify's IP)
💡 Pro Tip: Refer to Netlify's external DNS guide for detailed instructions specific to your registrar.
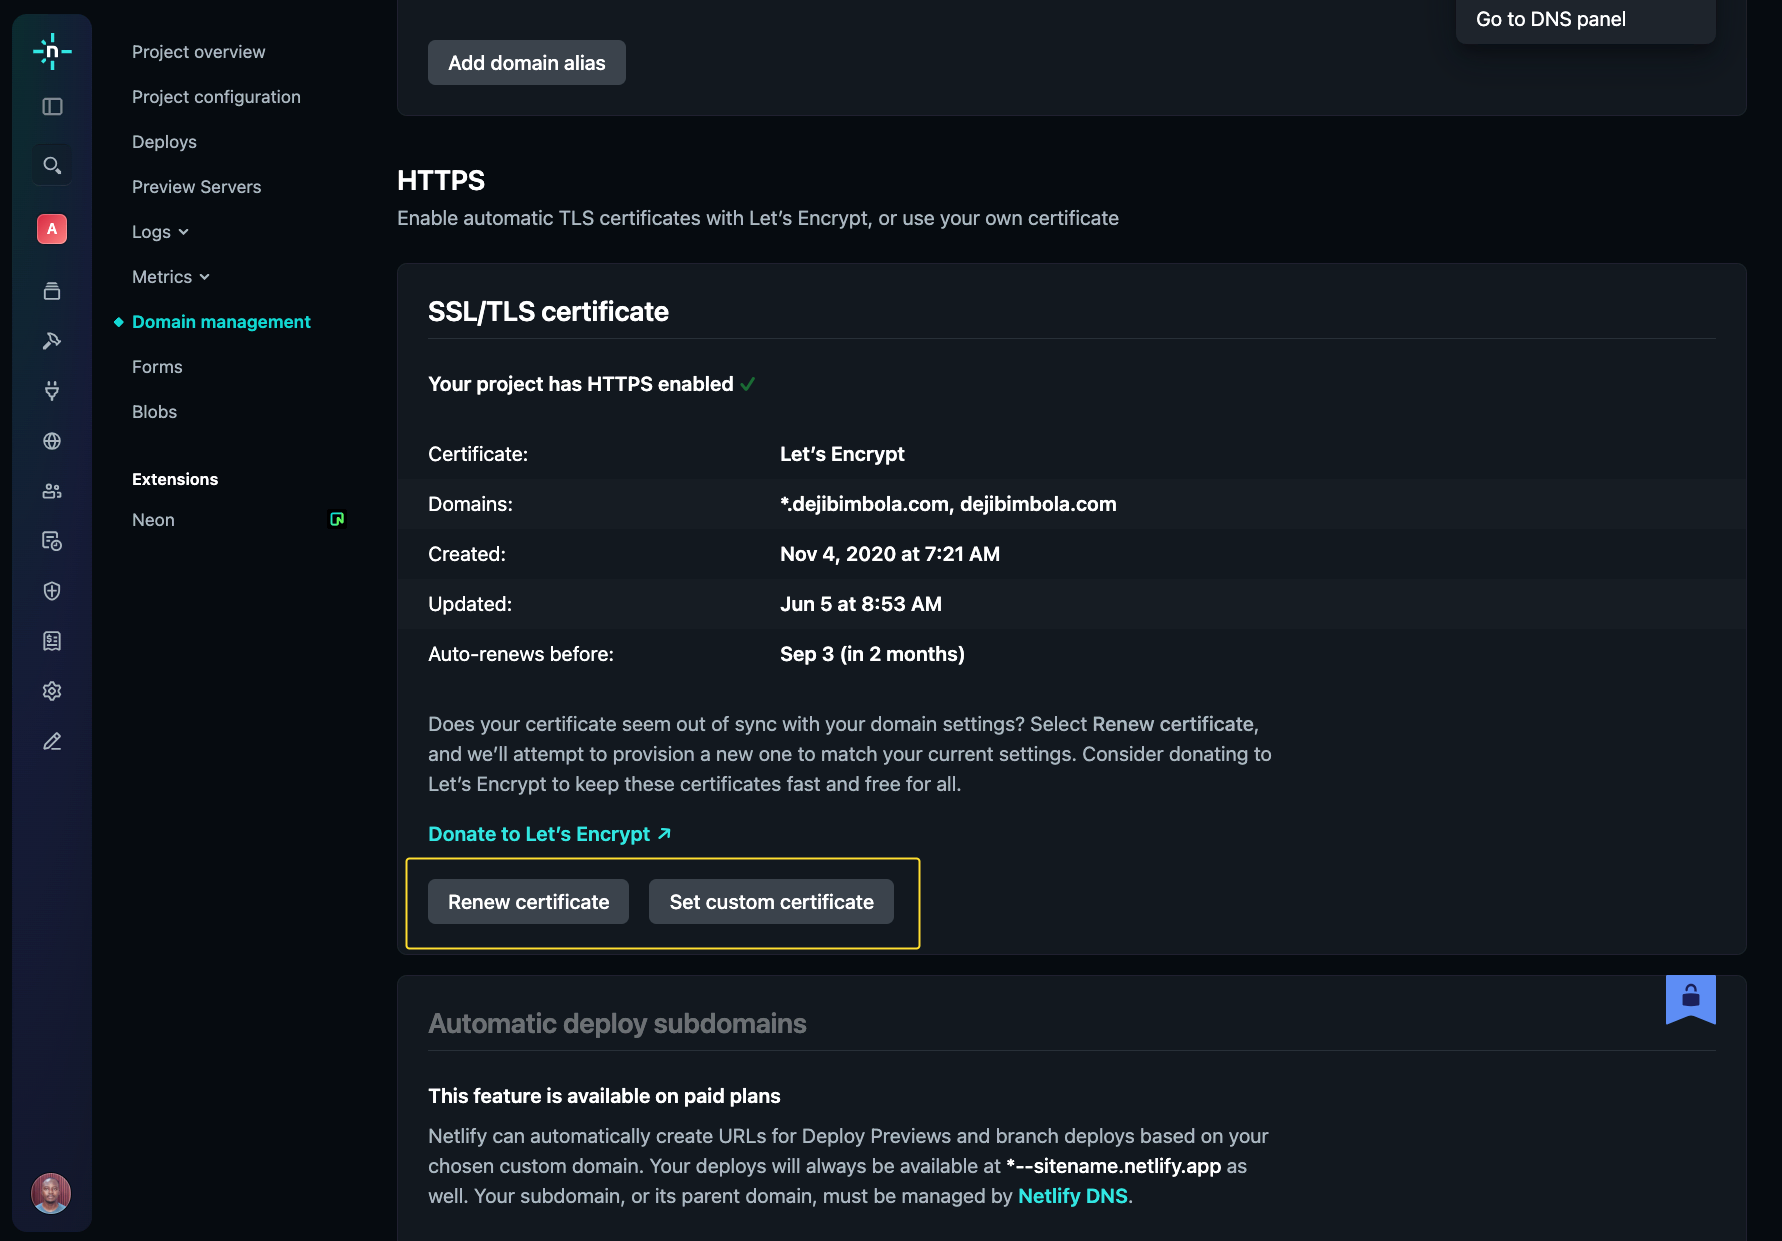
Enabling HTTPS with Let's Encrypt
Netlify provides free HTTPS certificates via Let's Encrypt by default. Here's how to enable it:
Automatic Setup (Recommended)
- Go to Domain Settings → HTTPS
- Click "Verify DNS configuration" (if needed)
- Click "Provision certificate"
Netlify will automatically handle the SSL certificate renewal for you.
🎯 What You've Accomplished
✅ Automated deployment - Your site now deploys automatically on every Git push
✅ Custom domain - Your blog has a professional web address
✅ HTTPS security - Your site is served over encrypted connections
✅ Production-ready - Your blog is live and accessible worldwide
🚀 What's Next?
Now that your blog is live, consider these enhancements:
Immediate Improvements
- Add analytics (Plausible, Posthog, or Google Analytics)
- Improve SEO with structured metadata and Open Graph tags
- Set up a content workflow for writing and publishing posts